AP Computer Science A – Unplugged and 3D Printed Sorting Activity

Background – Teaching APCSA

This year I taught AP Computer Science A for the first time. This has been a rewarding experience, and it has challenged me as both a programmer and a teacher. My biggest goal for this class was to make it feel intuitive – I wanted to make sure that students focused on developing a conceptual understanding of the course concepts and didn’t get too bogged down by Java syntax. I implemented a lot of “Unplugged” lessons and tried to let students discover concepts on their own.

At about the same time, I bought a 3D printer. I’ve loved the experience of learning about 3D printing and have been studying OpenSCAD and CADQuery. So far I like CADQuery better – but I’ll write more about that in a separate post.

As we started our unit about searching and sorting algorithms, I realized that it was going to take some creative instruction to help my students develop intuitive understandings of each of these algorithms. I found a great unplugged lesson plan from CS Unplugged. I highly recommend keeping a physical copy of their book on hand, but their lessons are all posted online too. You can find their sorting lesson on CS Unplugged here.

Before this, I’ve used decks of cards to teach sorting, but I’ve found that students had trouble following the directions – when students can see all of the cards (or can remember face-down cards they’ve peeked at before), they have trouble going through the pairwise comparisons in the algorithms. The original lesson from CS unplugged gets around this by using film canisters filled with sand and comparing their weights with balance scales. The film canisters are all visually identical so students are forced to use the scale to compare them.

Designing and Printing Manipulative For Class

I wanted to use this lesson in my class, but I don’t think I’ve seen a film canister in the past 20 years, and I was surprised to learn that my school has no balance scales. This sounded like a great opportunity to use my new 3D printer. I downloaded and printed a few balance scales from other creators online before settling on this one from Build_Something_Amazing on Thingiverse. I liked this scale because it was simple, rugged, and used relatively little filament (see some of my specific thoughts about print settings in my comment on the Thingiverse page)

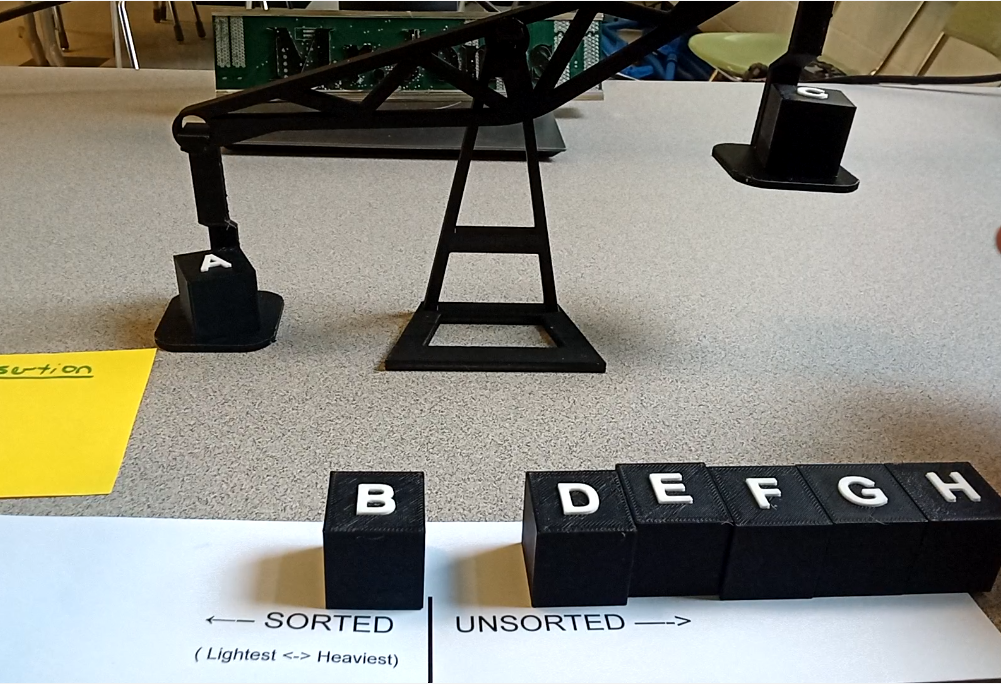
I had trouble finding a good model that we could use for sorting, so I made my own. I designed a set of 8 cubes that look similar but have different infill percentages. The weight difference between each cube and the next heaviest is about 0.5 grams. This weight difference is small enough that students can’t tell the difference when they hold the cubes in their hands, but large enough that the scale clearly tells which is heavier. To help students check their work, I also added a raised letter to each cube. There was a little bit of a drawback to this decision – students eventually memorized the correct order and found themselves taking shortcuts once they knew what the answer was. I published my sorting cubes on Printables here.

Results

I printed 12 sets: each set included a balance scale and 8 cubes, and I made sure that the sets were all identical (The cubes in each set matched, so cube D was the heaviest cube in each set, etc). One full set took about 115 grams of filament, so 12 sets totaled about 1.3kg of filament (which cost me ~$33) and took 54 hours of printer time.

Before officially teaching any of the algorithms, I followed most of the instructions in the CS Unplugged lesson plan – I gave students a chance to intuit and refine their own procedures for operations like finding the heaviest cube, and sorting the cubes in order by weight. When students shared out with the class, we found that many students had already intuited algorithms that were very similar to Selection Sort and Insertion Sort and at that point we just needed to learn those algorithms’ names!

Finally, at the end of the unit we used these manipulatives for review. I made a review video and posted it on Youtube here , and students did a class project where each made their own similar video using everyday objects like pencils of different lengths.

As a bonus – these scales were fun to fiddle with! I left them sitting out in my classroom for a few weeks and found that lots of people wanted to play with them. I ended up having mini discussions about sorting with students who aren’t in my class, administrators, and volunteers for afterschool programs. These are exactly the kind I conversations I love to have as I work to encourage more students to sign up for my CS classes.

I’m very happy with how these lessons turned out, and I believe that my students have a better understanding of these algorithms because they started by exploring and discovering the ideas on their own. I hope these resources will be helpful for other APCSA classes in the future!

Hall Pass Printer

Background

I teach at a public high school in Virginia. Our school has a paper hall pass system that doesn’t always work as well as we hope. Here are a few of the major challenges that we had:

  • Theft: We have major issues with students stealing (and sometimes selling) blank hall passes. So even if a student is in the hall with a filled-out pass, we have no way of knowing that it’s real.
  • No record: Students often ask to go to the bathroom, get a hall pass, and then never come back. Unless I hand-write a second copy of every pass for myself, I have no record of what time the student left or how long they are gone. We tried asking students to sign a sign in/out sheet, but it was rarely helpful.
  • Disruption: Writing hall passes is disruptive. I spend a lot of class time working 1-on-1 with students, and every time a student needs to leave the room I would need to pause the student I’m working with, go back to my desk, and fill out a hall pass.

There are already plenty of teachers advocating for a district-wide electronic hall pass system (like e-hallpass or SmartPass), but I knew that I could make my own solution. This project also gave me an opportunity to learn and practice with a Python library that I planned to share with my students. And as an added bonus, my students love it – they think the receipts are fun, and have asked me lots of questions about how it works.

The Solution

I call my web app D.U.C.K, which stands for “Digital Unified Classroom Keeper” and is a reference to “rubber duck debugging” (I also have rubber ducks and duck-themed decorations all over my classroom). Students load this web app from their phone or computer and make a request for a hall pass. From my phone or computer I can approve the request, and then it automatically prints the pass for them. Here are some pictures:

This is what the hall pass looks like. It includes all the same information from the paper hall pass.

Here’s what the printer looks like right now. Originally, I had the Raspberry Pi and the breadboard all crammed into the cardboard box. Students kept asking me how it all worked, so I ended up “dissecting” it and sticking those parts to my bulletin board. I’d love to eventually come up with a better housing that would contain everything and still make the components visible.

Here is one of the menus on the student front-end. It’s simple, but it contains everything they need to request a pass.

And here’s what I see. (The names you see in the screenshot are fake)

At the end of each day, the system generates a log of all the passes it printed that day, and then wipes the database. I keep these logs in a desk drawer and refer back to them any time that I have attendance questions.

How I Made It

Raspberry Pi: The website is running on a Raspberry Pi connected to a thermal receipt printer. I got the printer from Adafruit (here), and they have tons of great documentation and starter code to handle the printing.

Python and Flask: The web app is written in Python and based on Flask, a popular Python web framework, and I gave it a simple Bootstrap front-end. I had already agreed to act as a “consultant” for one of my students who was doing a year-long project using Flask, so this project was my excuse to learn Flask. It was the perfect tool for the job, and I loved working with it. The web app uses a Sqlite database on the Raspberry Pi, which I manage with SQLAlchemy.

Front-end Design: I created two front-ends, one for students that doesn’t require any login, and an admin front-end for myself that I login to using my Google login. OAuth was also on my list of things to learn, and I found this tutorial from RealPython super helpful.

You can find all of my code on GitHub here: https://github.com/MrJonesAPS/Duck

Reception

I’ve been very happy with how helpful this system has been. My students noticed that I can approve from my phone quickly and without interrupting the class, so they’ve almost entirely switched to requesting hall passes with this system.

The system isn’t perfect – because students don’t need to login, I do get some “spam” requests. They’re easy enough for me to reject.

I have lots of ideas for features that I’d like to add – my next plan is to add a help queue, inspired by ClassroomQ.

False Cape Bikepacking

We just got back from a wonderful weekend bikepacking trip to False Cape State Park in Virginia Beach. I like to do a lot of research when I’m preparing for a trip, but there wasn’t a lot of information about the park available online. Now that the trip is behind us, I thought I’d write up a trip report with some tips that I wish I had known when I was preparing to visit!

About the park:

False Cape is the southernmost state park in False Cape MapVirginia, and it makes up the south-western corner of the state. It is a thin strip of land that lies between Back Bay and the Atlantic Ocean. There is no road that goes to the park, so the most common way to get there is to walk or bike through the trails at Back Bay National Wildlife Refuge. Once you’re in the park, there are miles and miles of hiking and biking trails, natural sand dunes, and some great camping sites. There are even some ruins from a settlement that existed in the park up until the early 20th century!

The Journey:

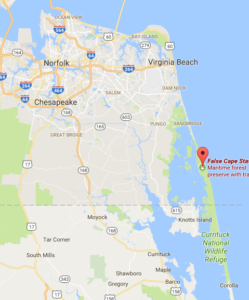
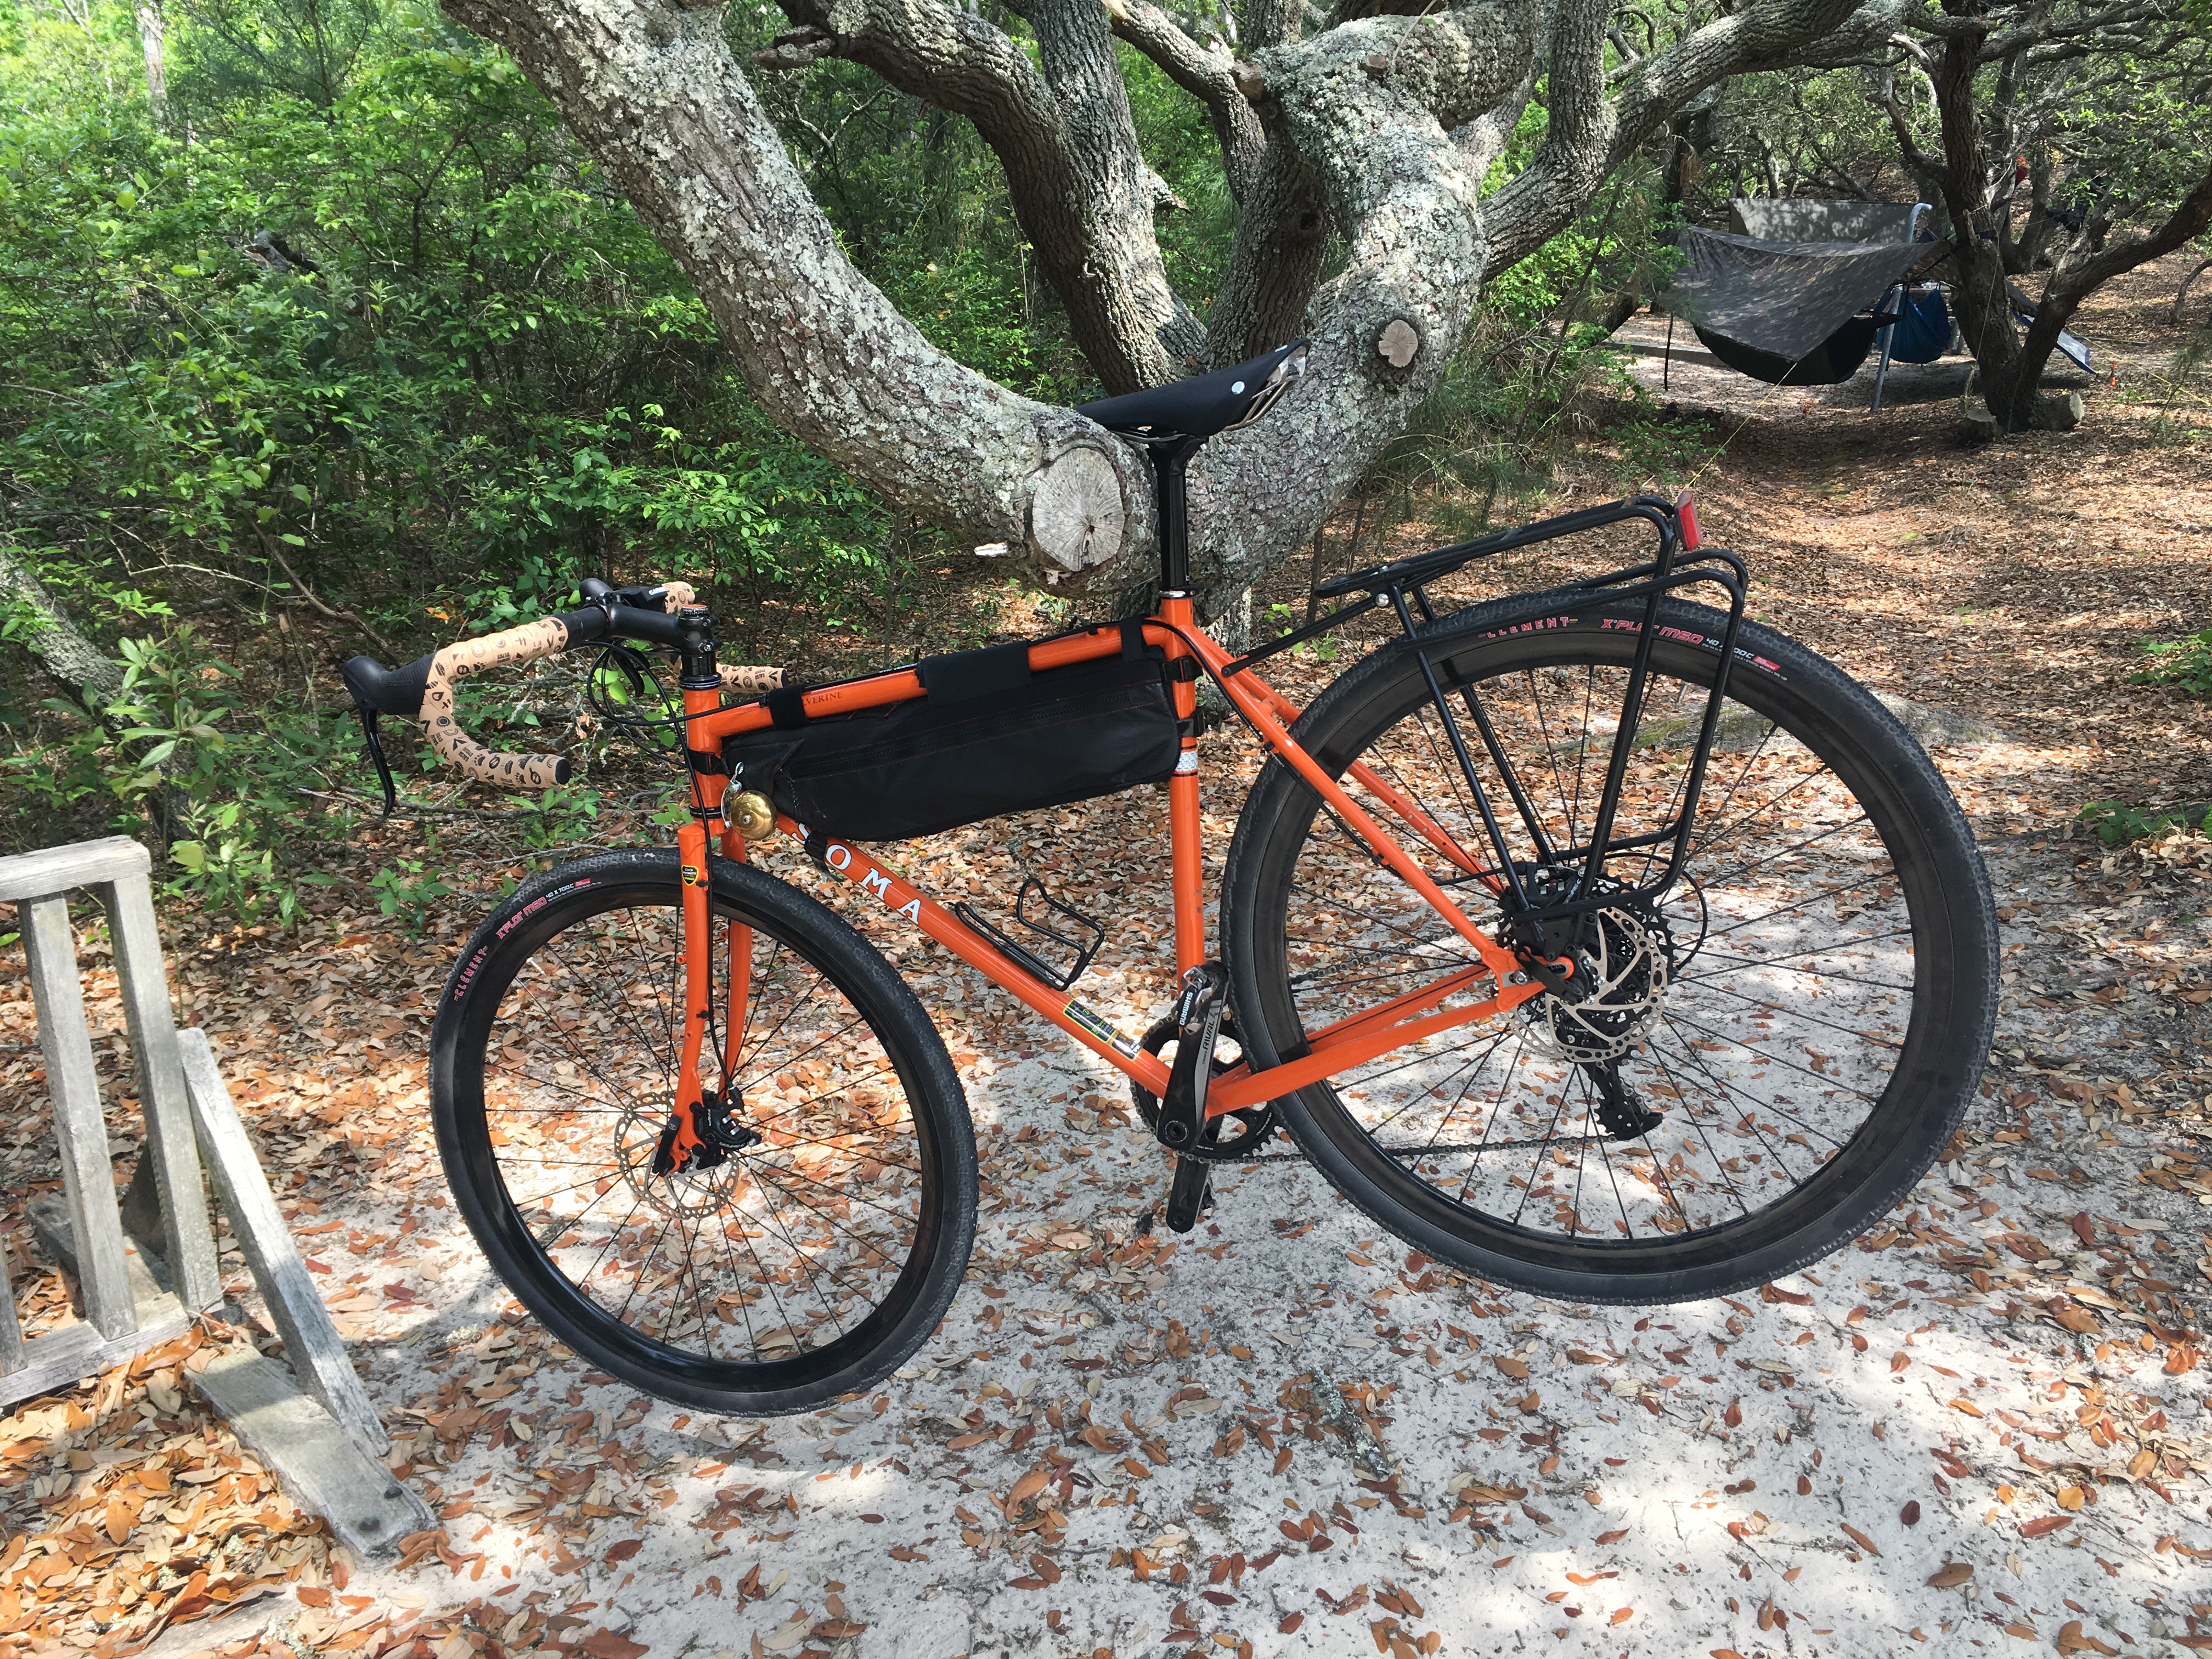
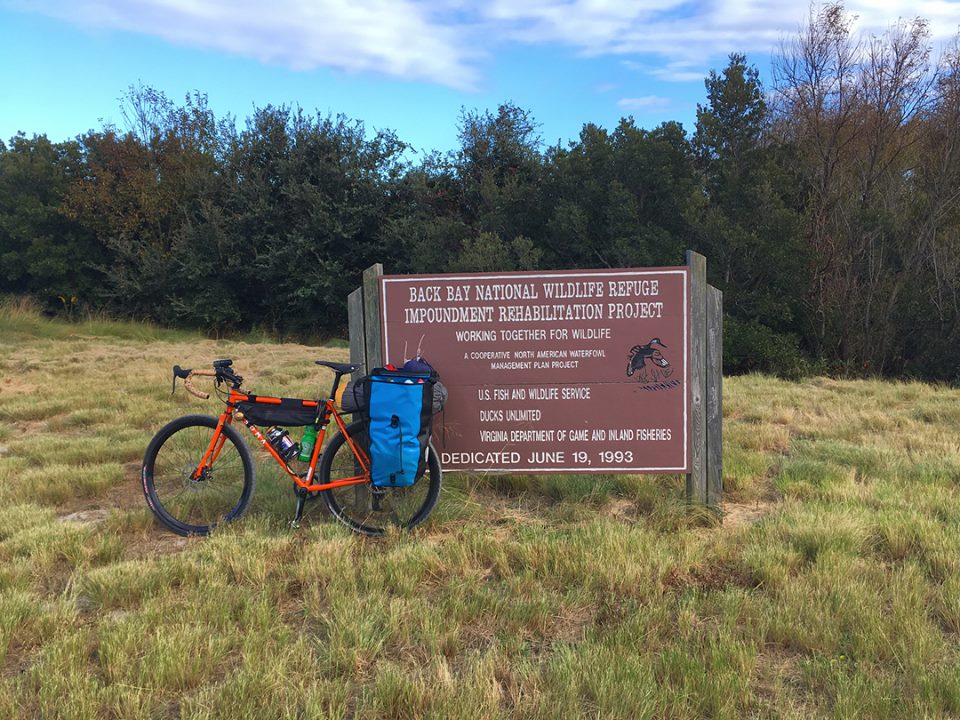
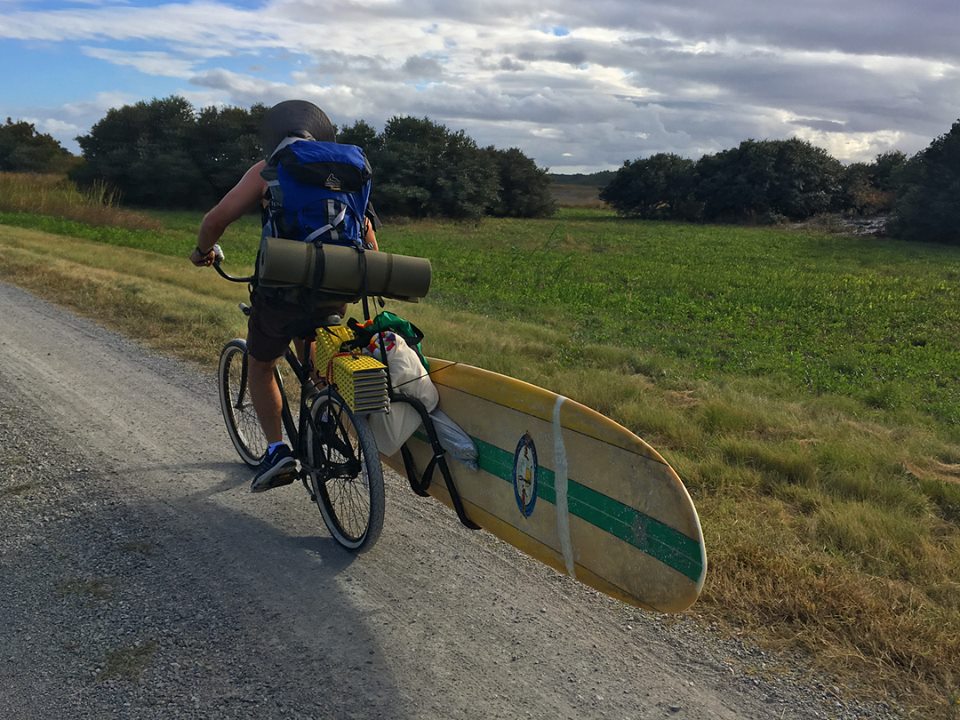
We loaded our bikes up on the car, drove to Virginia Beach and through Sandbridge, and parked our cars overnight at Little Island State Park. Then we loaded up all of our gear on the bikes, and rode in through Back Bay, past the False Cape visitor center, and on to campsite number 12. All together, the ride in (Strava link here) was about 9 miles and took our group a little over an hour.

Our family brought a variety of bikes – I was riding my Soma Wolverine, Krista was riding a mountain bike, and the rest of our group was on beach cruisers. The trail is mostly hard-packed gravel, but there are a few sections of loose sand. The wider tires definitely helped on the sand – I was running my 40mm gravel tires at the lowest pressure I could, but I still wiped out on the sand.

Once we reached the campsite and set down our stuff, we had just enough time to watch the sunset over the bay (there was a nice little kayak dock just a short walk from our campsite). After that, we retired to our campsite, cooked dinner over my homemade alcohol stove, and played card games until bed time.


The next morning, we got up with the sunrise, made breakfast, and set out to explore the park. We were hoping to ride our bikes all the way to the North Carolina border, but the trail was a bit too loose and sandy for my 40mm tires to handle, so we headed to the beach instead. To get to the beach, you have to park your bikes at nearby bike racks and then take a short walk over some sand dunes.

Once we got over the sand dunes, we had the whole beach to ourselves! The water temperature was perfect, and we spent some time relaxing in the sand and watching the sand crabs running in and out of their holes.

After an hour or so on the beach, we went back to eat some lunch, pack up our campsite, and make the 9 mile ride back to our car. Our full trip lasted almost exactly 24 hours (so I’m still counting it as a Sub 24 Hour Overnighter).


Campsites:

The park has 12 total campsites – 6 are on the bay side and 6 are on the ocean side. We chose to stay on the bay side because the spaces were larger. Our site was in a huge field and came with a picnic table and a huge tree that was perfect for our hammock. We pitched our tent on a big sandy patch, which made for a nice soft camping surface.

On our next trip, I definitely want to try camping on the ocean side. Those campers actually get two sites- one small site in the trees and another right on the beach. They can choose where to set up camp, or can use their spot in the trees for cooking and eating and then keep their tent on the beach.

The camping experience itself was great, but definitely primitive. There are pit latrines, but they were clean and well-stocked with TP and hand sanitizer. There is one drinking water spigot in the park, but it was about 3 miles from our campsite. They also do not allow campfires, and require everyone to pack out their own trash.

Things to keep in mind:

There are a few things that I wish someone had told us before we headed out:

  • Make sure that you have all the tools you need to be self-supported! We came across a family that was pulling two young children in a trailer and had a flat tire. They were about 10 miles from the nearest road, and were very happy that we had tools to share.
  • Pack light – everything you bring has to fit on your bike, and the trail in some spots is made up of loose sand, so any unnecessary weight really makes the ride tougher. Our family decided to make it a bit more of a glamping trip (we even brought a surf board!) so we just took our time on the trails.
  • Make a packing list and check it twice! We forgot eating vessels, so we had to get creative!
  • Watch out for the local critters. We saw lots of poisonous snakes laying out on the trails, and we had to pay extra attention not to run them over. We also saw a few turtles on the ride, and we heard some coyotes at night. There are also some wild ponies that live in the park, but we didn’t see them.
  • Bring bug spray – the bugs came out at night and we weren’t allowed to build a fire to build a fire to keep them away. We also brought some lanterns and cards to keep us entertained in place of the fire.

A Few More Pictures:

Soma Wolverine Bike Build

Now that I have about 100 miles on my new Soma Wolverine, I thought I’d write a blog post about my experience building my first bike!

I’d been thinking about building a bike and drooling over the Wolverine for months (especially after the Bicycle Times review), and then this February I found someone local who was looking to sell an almost new frame for a bit of a discount. He’d ordered the frame and built it up before deciding to go for another size, so he was still riding his own Wolverine but had an additional spare frame. The only concern was that the frame size is 54cm, and my road bike is 58cm. I did a lot of research (and documented some of it here), and ultimately concluded that the 54 would fit me fine.

Once I decided to pull the trigger on the frame, I spent about 6 weeks researching and ordering all of the other parts. I ordered most of the parts through my Local Bike Shop (http://www.bikenetic.com/), and I also got them to install the headset and bottom bracket. I ended up going with a Sram Rival 1 drivetrain with a 42T chainring in the front and a 10-42 cassette in the back.

The wheels aren’t included in that picture because they were off being custom built by Hans (http://snakesthatbite.blogspot.com/) who I met via the local cycling forum. Hans helped me pick out a DIY wheel kit from BDop Cycling and built them up for me. I couldn’t be happier with the wheels – especially for the price!

It took me about 3 weeks to put everything together.  I learned a lot in that process, and each lesson involved an extra trip to talk to or buy something from the very patient and friendly folks at the bike shop. Unfortunately, I don’t have many pictures of the build process – but here’s how it looked once it was all put together:


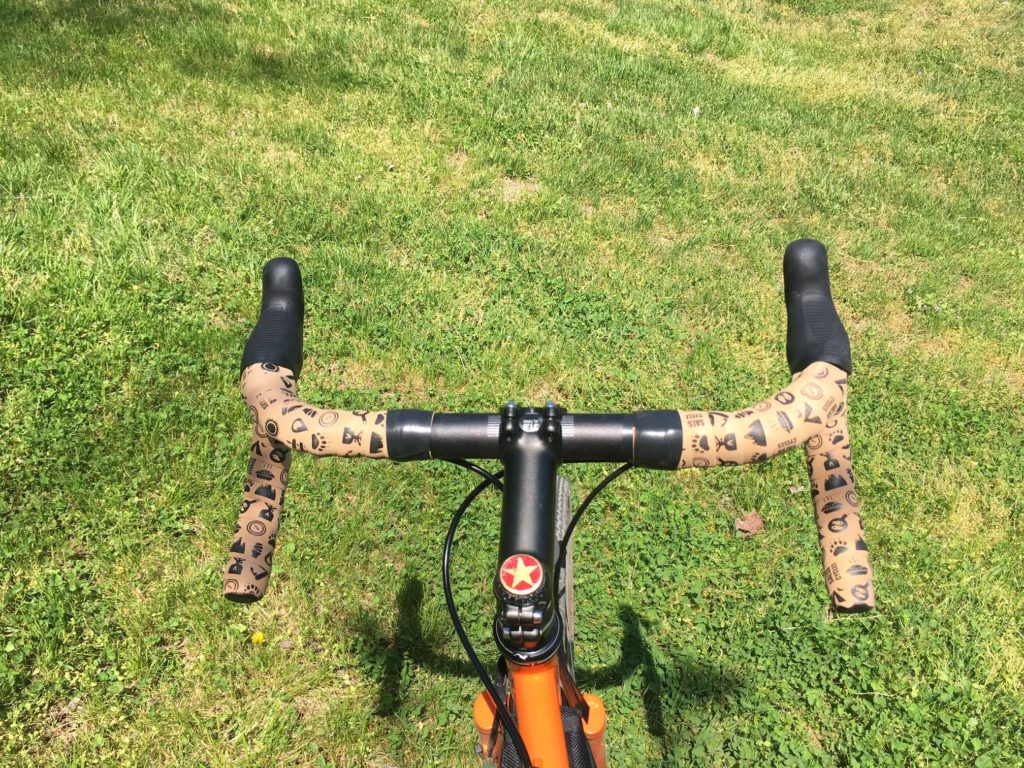
I had fun with the details: I wrapped the Salsa Cowbell handlebars in Salsa’s “Glyph” Tape and added a bottle cap from a favorite local brewery to the headset cap.


The Wolverine frame has bosses for down-tube shifters, but I was using integrated  handlebar brake/shifters and my 1x setup didn’t need a front shifter at all. I added a cable stop for the rear shifter on the drive side, and installed a bell on the non-drive side (based on the directions here)


Once the build was complete, I took it out to Rosaryville State Park in Maryland for a test run. I’d never been to Rosaryville before and it turned out to be not a smooth as I expected (I’ll look forward to returning with my mountain bike some day), but the bike handled everything perfectly!

Since then, I’ve taken it on gravel rides on the C&O Canal Towpath, on sandy rides in False Cape State Park in Virginia Beach, and on flat paved multi-use trails around Arlington, and it’s handled everything perfectly.

I look forward to putting many more miles on the new bike, and to really put it to the test this summer with some longer bikepacking trips!